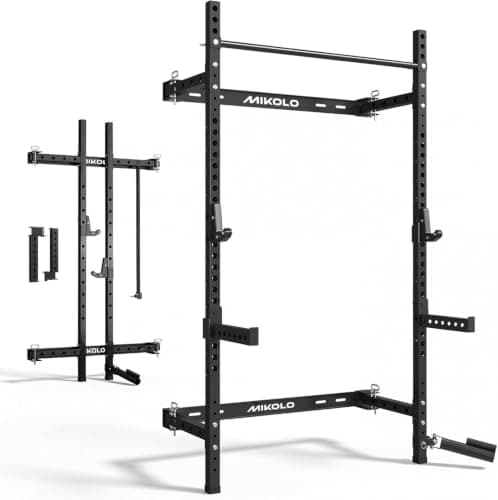
At $1,500 the right small-space build is barbell-first, and it starts with the Mikolo folding wall-mounted rack: 1,000 lb rated per its listing, with safeties, J-hooks and a pull-up bar, and it folds flat to the wall so the floor comes back when you are done. Add a 6 ft Olympic bar, a cast-iron plate set, a bench that stows upright and rubber-top tiles under all of it. That is a complete squat, press, pull and hinge setup in a room that is still a room by dinnertime.
We publish four budget rungs because the answer genuinely changes at each one, and this is the interesting step. At $500 the honest build is dumbbells, a bench and a mat. At $1,000 a freestanding rack becomes possible and the setup starts to look like a gym. At $1,500 you can afford the rack that disappears, which in a small apartment is worth more than any other upgrade available at this price. At $2,000 you add bumper plates and premium adjustable dumbbells on top.
One ground rule before the list: we do not print a total. Every price on this site comes from the live price layer and is stamped with the date it was read, so the honest way to check this build against your budget is to add up the numbers on the five cards below rather than trust a figure we typed into a paragraph weeks ago. On the day we assembled this list, all five fit inside $1,500 together.
Why the wall rack is the whole decision
A freestanding rack and a folding wall rack cost about the same and do about the same things. The difference is what the room looks like at 7 p.m. A folding wall-mounted rack gives the floor back entirely, which is the single thing that decides whether a gym survives in a shared living space — and it is why folding racks lead our racks hub rather than cages.
The cost is a landlord conversation and a stud finder. These bolt into framing, not drywall; our installation guide covers the hardware and how much weight a wall-mounted rack holds covers what the anchors are actually doing. If drilling is impossible, swap in the PASYOU freestanding stand from our under-$500 rack ranking and spend the difference on plates — that is the only substitution in this build we would make without hesitation.
Why a 6 ft bar and cast iron, not a 7 ft bar and bumpers
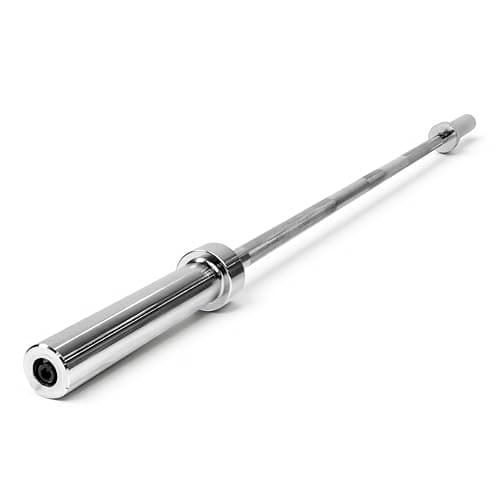
Both choices are small-space choices and both are deliberate. A 6 ft Olympic bar is a foot shorter than a competition bar, takes the same 2-inch plates and sits in the same J-hooks — in a room where a 7 ft bar clips the walls on the rack-out, it is the bar that makes the lift possible at all. Our barbell guide works through what you give up, which is mainly sleeve room at very heavy loads.
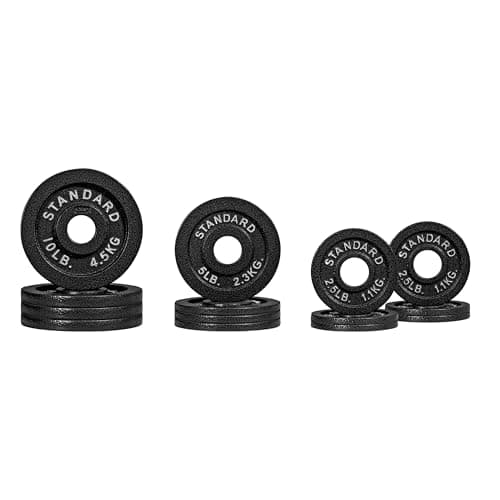
Cast iron is thinner per pound than any bumper plate, and that matters precisely because a 6 ft bar has stubby sleeves. It is also the cheapest weight per dollar by a distance, which is what makes the rest of this build fit the budget. What it costs you is noise and floor sympathy: cast iron is steel on steel and steel on floor, and it is the plate most likely to generate a complaint. That is the reason the tiles are on this list rather than being an optional extra.
The build, line by line
| Piece | What it does | The small-space reason |
|---|
| Mikolo folding wall rack | Squats, presses, pull-ups, safeties | Folds flat to the wall — the floor comes back |
| CAP 6 ft Olympic bar, 28 lb | Every barbell lift | A foot shorter; clears the walls on the rack-out |
| CAP 75 lb cast iron set | The load | Thinnest per pound — fits short sleeves |
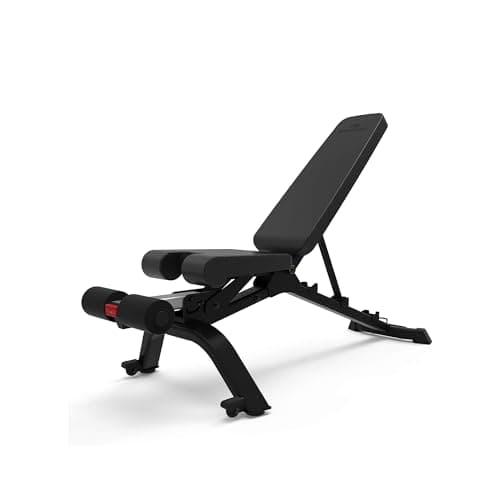
| Bowflex 3.1S bench | Pressing, rows, incline work | Stows upright against a wall |
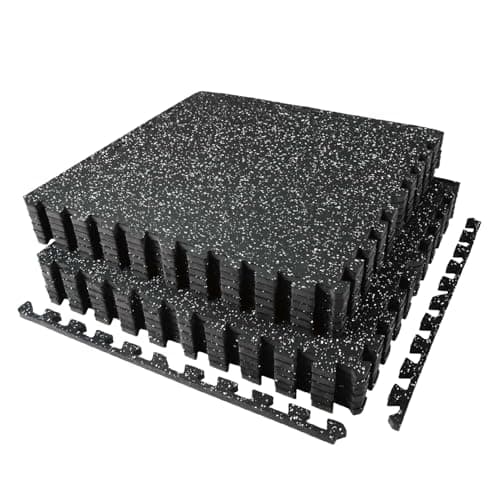
| AIRHOP rubber-top tiles | 48 sq ft platform | Rubber top takes rack feet and plates; lifts out on move-out day |
What this build deliberately does not include
No dumbbells, and that is the one omission people push back on. At $1,500 with a barbell in the plan, a pair of adjustable dumbbells is the thing that pushes the total over — and a barbell plus a bench covers the same movements. If you would rather have dumbbells than a barbell, you do not want this build at all: you want the $1,000 version, which is dumbbell-led and leaves room for more plates later.
No cardio either. A walking pad or a folding bike is a separate decision with its own budget, and bundling it here would mean a worse rack. Our folding treadmills under $300 is the cheapest honest way to add it afterward.
Buy it in this order
If $1,500 is not available in one go, the order matters more than people expect. Buy the bench and plates first — they are useful immediately and useful forever. Buy the bar second, because a loaded bar on the floor already gives you deadlifts, rows and floor presses. Buy the rack last, because it is the piece that needs the landlord conversation and the one most likely to change your mind about where in the room the gym goes. The tiles go down before the rack, not after.
Our home gym cost guide works through the same arithmetic without a fixed ceiling, and home gym vs gym membership is the page to read if you are still deciding whether to spend this at all.
Where the floor has to hold up
This is the first budget rung where the floor becomes a real question, because it is the first one with 75 lb of cast iron and a bar in the room. The short version is that the structure is almost certainly fine — floors are rated as a distributed load and this build weighs less than a well-filled bookcase plus the people near it. The real question is noise, and the answer is the tiles plus never dropping the bar. If you are above someone, lifting without annoying the neighbors is required reading before the plates arrive, not after.
The upgrade path from here
Everything in this build is a keeper, which is deliberate — nothing here gets thrown away when the budget grows. The next three purchases, in the order we would make them: more cast iron or a change-plate set for small jumps, a pair of adjustable dumbbells, and only then cables. Our $2,000 build is roughly this list with bumper plates and a premium dumbbell pair added, and the lat pulldown routes are the cheapest way to add cable work to a wall you have already drilled once.